Château Colombières is the 6th chapter of Brothers in Arms: Earned in Blood. This is the last mission with Allen, Garnett and Desola fought in this game.
Summary
Cpl. Hartsock takes a small side mission to a bombed out château near St. Come-du-Mont. He has a few familiar faces along to guide him.
Plot
Red, Desola, Allen and Garnett are sent to secure the chateau which is heavily bombarded by the Allies and need use of a medical aid station. Red mentioned the lack of Sergeants in the platoon which Baker left, he also felt saddened as this is the last mission they were together before Allen and Garnett died next morning and Desola died day after. Red gets back to his story.
At the entrance of the chateau, Garnett disappointed that the chateau is blown to pieces and had bring extra ammo being a recon/scout mission. Allen is thinking about the situation of war with Desola wanting to complete as fast as possible. Red's team headed to the chateau and encounter German defenders guarding the gate including a MG. After clearing the outskirts, Red head towards a hole on the flank of the gate and attack the Germans in the chateau.
After clearing the chateau, they headed outside to see a M5 Stuart comes to support them. It is revealed that the tank have the same objectives as Red. They join together to clear the surrounding of the chateau of Germans who are prep with Panzerfaust and MGs.
Once the surroundings are cleared, they head back to the entrance and find a counterattack with a tank and mortar. With the help of the tank, they managed to defeat them easily. Baker arrived with the squad's Opel Blitz and told them to enter the truck as the mission is completed.
Objectives
Secure the Chateau
The Château Colombières was heavily bombed leading up to the invasion, and would later be used as a medical aid station for the Allies.
Defend the Chateau
The Château Colombières was heavily bombed leading up to the invasion, and would later be used as a medical aid station for the Allies.
Transcript
Hartsock's Introduction
Marshall: Night mission?
Hartsock: Night mission. The 101st was massing up for the big push up the causeway. Sergeant Hassay sent me with three guys to check out a bombed chateau. We needed it for an aid station. I had Desola, Allen, and Garnett.
Marshall: Were there any other Sergeants or officers around?
Hartsock: No, it was just us; stragglers were showing up all the time, but 3rd platoon lost half its sergeants the first day. I guess that expedited my promotion.
Conflict
Hartsock, Desola, Allen, and Garnett are standing at the gates of a bombed-out chateau and looking at their capture target.
Garnett: This would have been a nice lil house if we hadn't bombed the holy shit out of it.
Desola: Just recon, right?
Garnett: I don't know, Desola. Every time I hear the words 'scout' or 'recon,' I bring extra ammo.
Allen, who had been staring at the bombed-out chateau without a word, finally speaks up.
Allen: Just seems like it's never over.
Garnett: What?
Allen: Just thinking out loud.
Desola: Well, I don't know about you, Allen, but I ain't gettin' shot over a stupid chateau. Let's get moving.
The three then turn to Hartsock as their objective begins.
Flashback to Hartsock's interview with Marshall
Marshall: What's wrong?
Hartsock: Allen and Garnett died the next morning.
Hartsock pauses for a brief moment.
Hartsock: Desola was the day after.
Hartsock starts sniffling.
Marshall: Do you need a minute?
Hartsock does not answer and continues sniffling for the loss of his three friends.
Marshall: Sergeant Hartsock, do you need a minute?
Hartsock recovers and stops sniffling.
Hartsock: No, sir.
Hartsock takes a big gulp and a sigh.
Hartsock: I'm fine, let's keep going.
Flashback back to the mission
Hartsock orders Desola, Allen, and Garnett to follow him down the center of the bombed-out chateau. The roadway to the chateau was blocked halfway down the line. Just as the four make their way halfway down the road, towards the blockage, they were immediately met with German machine gun fire. Hartsock orders his squad to take cover to the right of their position and to try a flanking maneuver. However, they are met again with three German squad units stationed close to the MG42. Hartsock then orders his squad to lay down suppressing fire while he goes around to the left side of the roadway and cut them down. The plan is successful as Hartsock, with the help of his squad, cuts down the three German squad units. Now all that was left was the MG42, which was still being put to use and firing at Hartsock's squad. Hartsock yelled out the order to lay down suppressing fire as he made his way through an archway. Once he entered the archway, Hartsock pulled the pin off a grenade he had and flung it at the MG42. Seconds later, the firing from the MG42 ceased and Hartsock's squad regrouped.
Just as Desola, Allen, and Garnett arrive at Hartsock's location, another German squad opened fire on their position. The firing only lasted less than two minutes as Hartsock took them down with relative ease with his Browning Automatic Rifle. Once the fighting stopped, Hartsock and his squad entered the house with the front staircase was blocked and engulfed in flames. Hartsock and his squad turned left and spotted another German squad entering the back door of the house. Hartsock ordered his squad to their positions and wait for the German squad to enter the house. Once the German squad entered the house, Hartsock and his squad welcomed them with a barrage of bullets.
The back door of the house was still open, which Hartsock and his squad slowly exited. Just as they were exiting the house, they were encountered by an MG42 just twenty-five feet away. The four immediately ducked and turned tail back into the house. Luckily, help arrived when an M4 Sherman tank rolled along behind the MG42 and fired its 75mm gun. Hartsock and his squad, who were very grateful to the M4 Sherman for taking out the MG42, approached the tank. Sergeant Kelly, the person was commanding the tank, stuck his head out of the tank.
Kelly: You guys were sent here too?
Hartsock nodded.
Kelly: It's dark as hell out here; so I'm gonna need you to be my eyes, Corporal.
Now with a tank crew on Hartsock's back, he had to keep them alive as well as his squad. Nevertheless, Hartsock pressed on through the chateau where more German squads were expected to be. This time, however, Hartsock sensed that because the Germans around the area heard the shot from the M4 Sherman on the MG42, they would equip themselves with anti-tank guns, namely, panzerfausts. Therefore, he tells Kelly to move his tank slowly to not attract any attention. After a few minutes of scouring the chateau, no resistance was encountered. That was the case until a few panzerfaust units started popping up and firing at the tank. Three panzerfaust units started opening fire on the tank, which Hartsock and his squad put a stop to after ten minutes of intense fighting.
After the fighting was halted, Hartsock grabbed what little ammunition the German panzerfaust had and set out with his squad and tank crew through the remnants of the chateau. After a while, Hartsock and his squad encountered sporadic resistance but had no casualties. The fighting quickly intensified as they ventured further and further through the chateau. Eventually, Hartsock, his squad, and the tank crew found themselves near the front of the chateau. However, as the struggle for survival continued, machine guns, panzerfausts, and now mortars and Panzer IVs were put into effect by the Germans who were desperately trying to take out the tank as fast as possible.
Luckily, Hartsock and his squad managed to exterminate any German engagements there were and soon found themselves directly at the gates where they first started the objective. They had successfully secured the chateau. Just then, Baker and Mac pulled up in a halftrack with Baker as the driver.
Baker: Hop in the back, guys!
Chapter ends
Characters
- Colonel S.L.A. Marshall
- Staff Sergeant Gregory Hassay (does not speak)
- Sergeant Matthew Baker
- Sergeant Kelly
- Corporal Joseph Hartsock (Playable)
- Private Larry Allen
- Private Michael Desola
- Private Michael Garnett
Weapons
American Weapons and Vehicles
German Weapons and Vehicles
- Kar 98k
- MP 40
- MG 42 (Mounted)
- Walther P38
- Panzerfaust
- StuG III
Teams
Fire Teams:
- Pvt. Desola - M1A1 Thompson
- Pvt. Allen - M1 Garand
- Pvt. Garnett - M1 Garand
Tank:
- Sgt.Kelly - M5 Stuart
Extras
The Chateau, Then, Now and In-Game

.jpg)
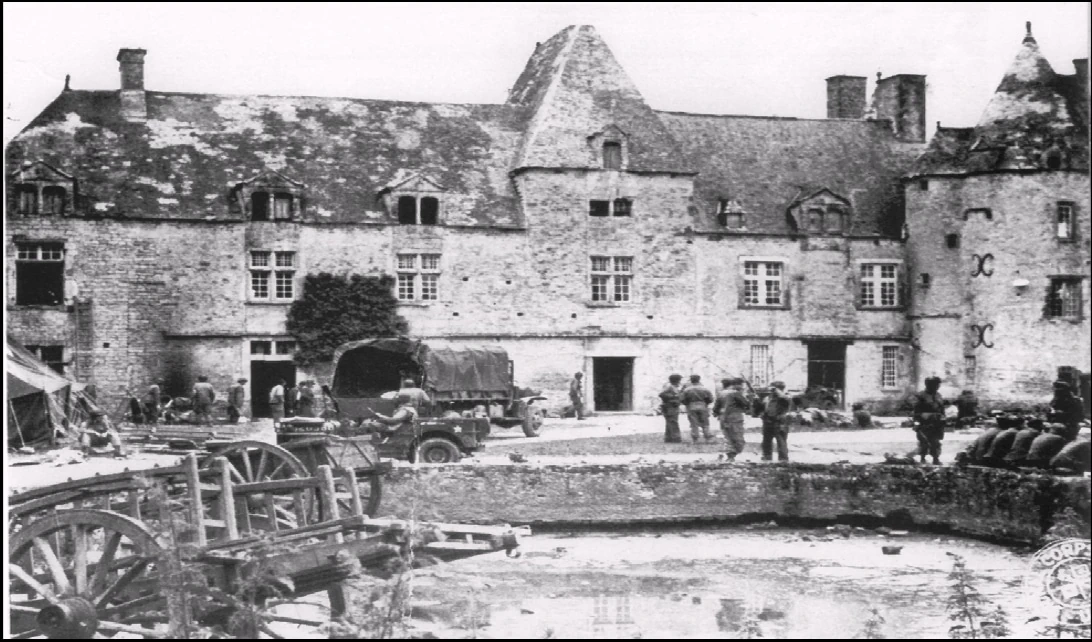
The Chateau Colombieres was used by German officers as a headquarters during the occupation. So, it became a choice target for artillery and naval shelling as the D-Day battles raged on. In this photo, taken a few days after the events that are recreated in the game, the US paratroopers had not only captured the chateau but had begun to use it as an aid station for collecting and treating paratrooper casualties.

.jpg)
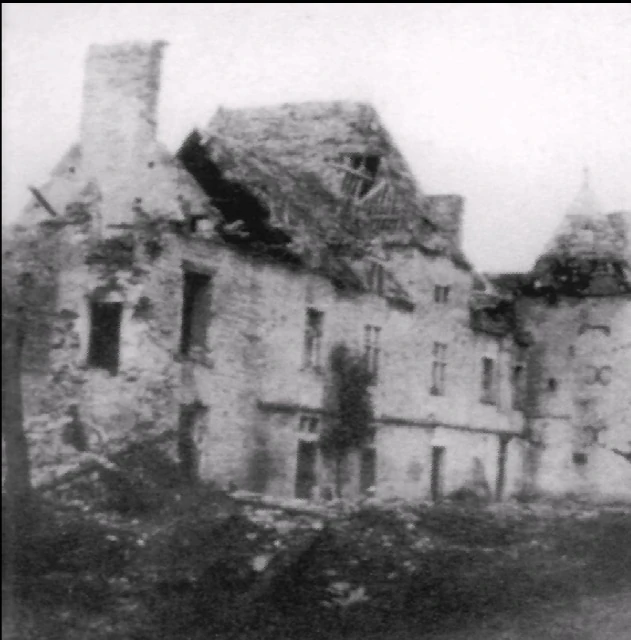
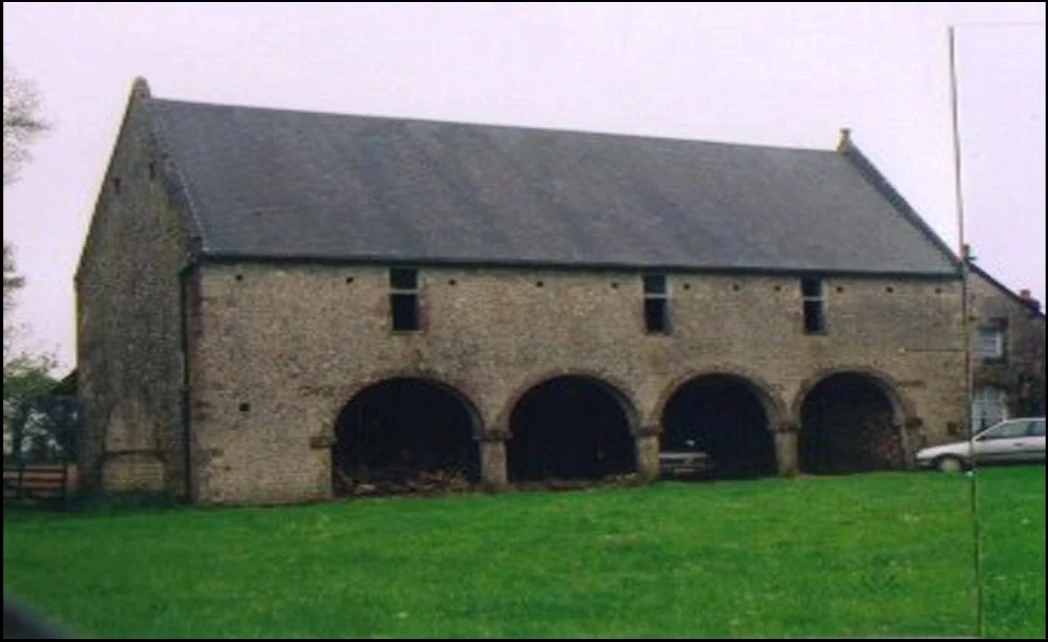
During the fight, the Chateau was continuously pounded by shelling from both sides as it changed hands. The amount of damage it sustained during the fighting necessitated the eventual demolition and rebuilding of the place.

.jpg)
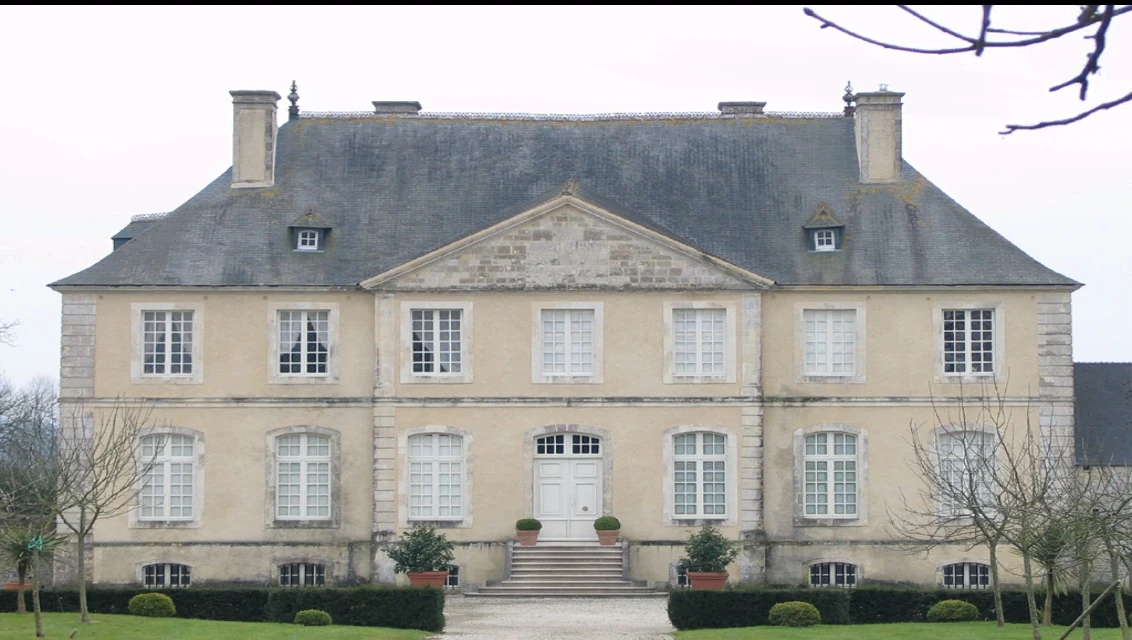
The reconstructed Chateau bears some similarity in style to the original, demolished building but has lost some notable features. Specifically, the distinctive tall center roof and the side stone tower were lost forever. This photo was taken by the Gearbox survey team in early 2005.

.jpg)
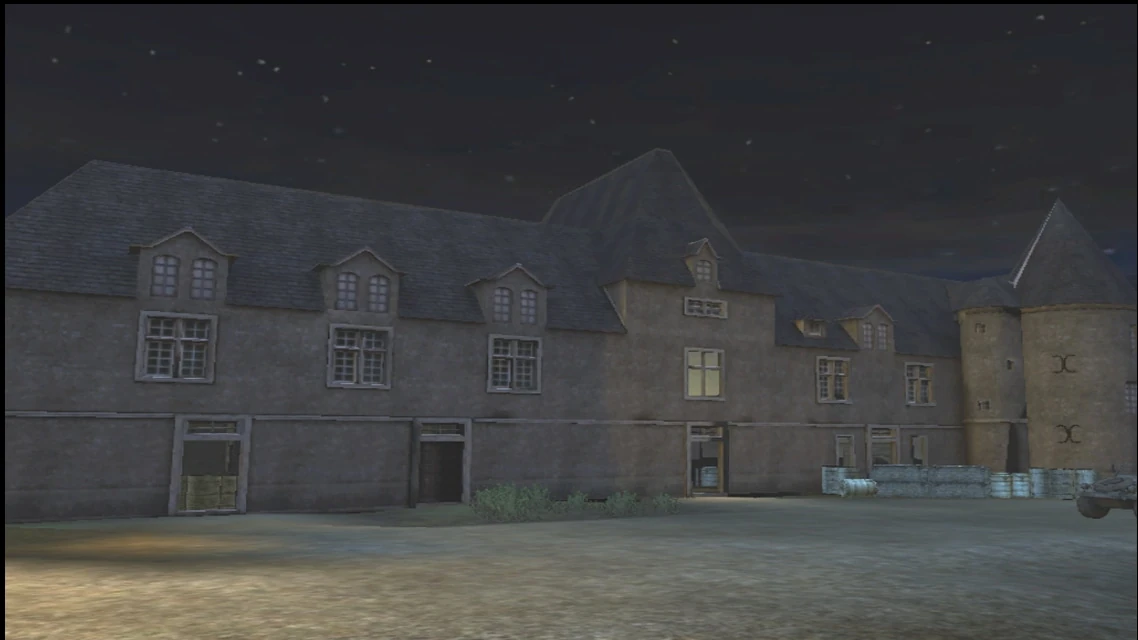
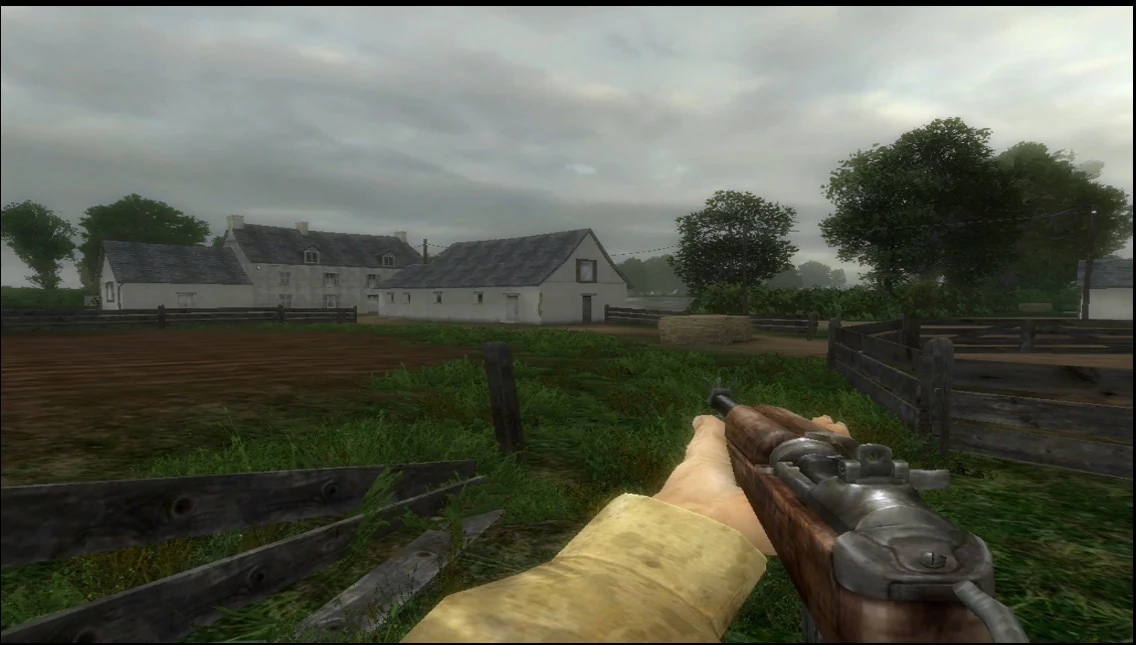
For Brothers in Arms Earned in Blood, Gearbox was careful to note the differences between today's architecture and the building that stood in 1944. this image of the Chateau Colombieres from the game bears much resemblance to the historical photos.
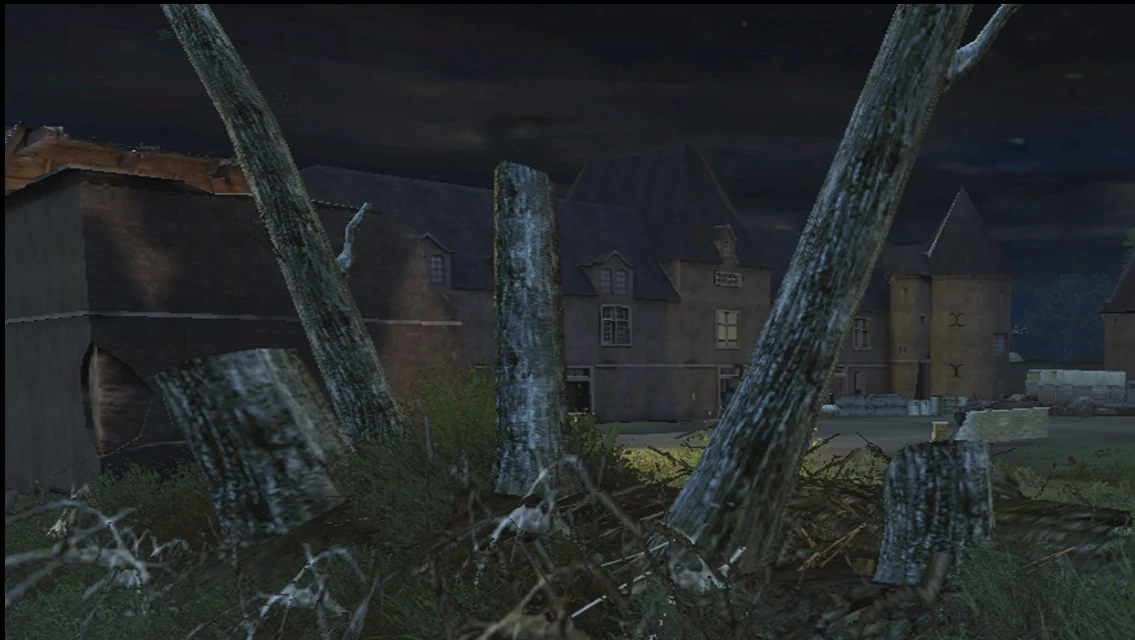

.jpg)
Another photo of the Chateau Colombieres from the game. Note the damaged portion of the building on the left and how the battle-stripped trees obscure the view.
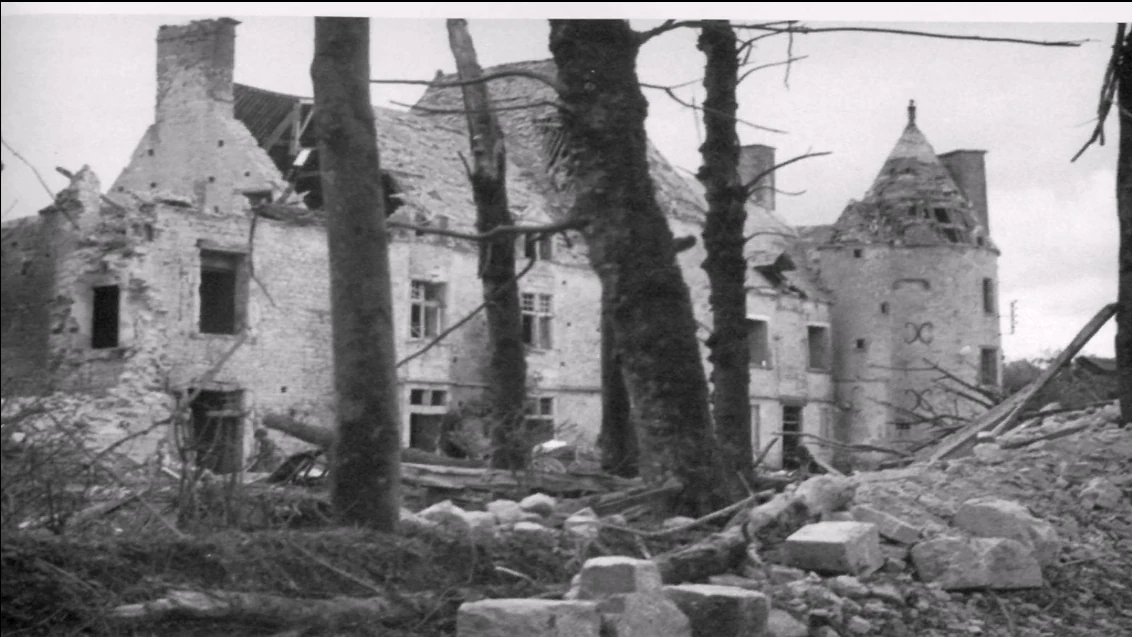

.jpg)
An historical photo of the chateau reveals damage to the structure of the building and the trees.
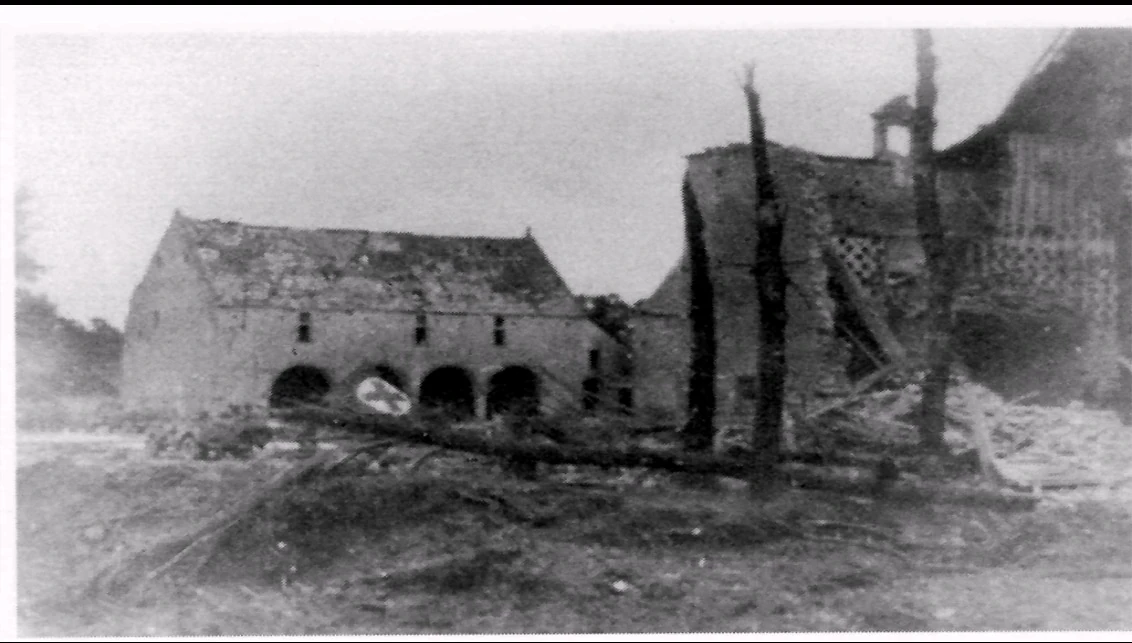

.jpg)
The side building to the chateau only needed to have its roof replaced after the war. This photo was taken in June of 1944 after the US paratroopers had seized final control of the buildings.
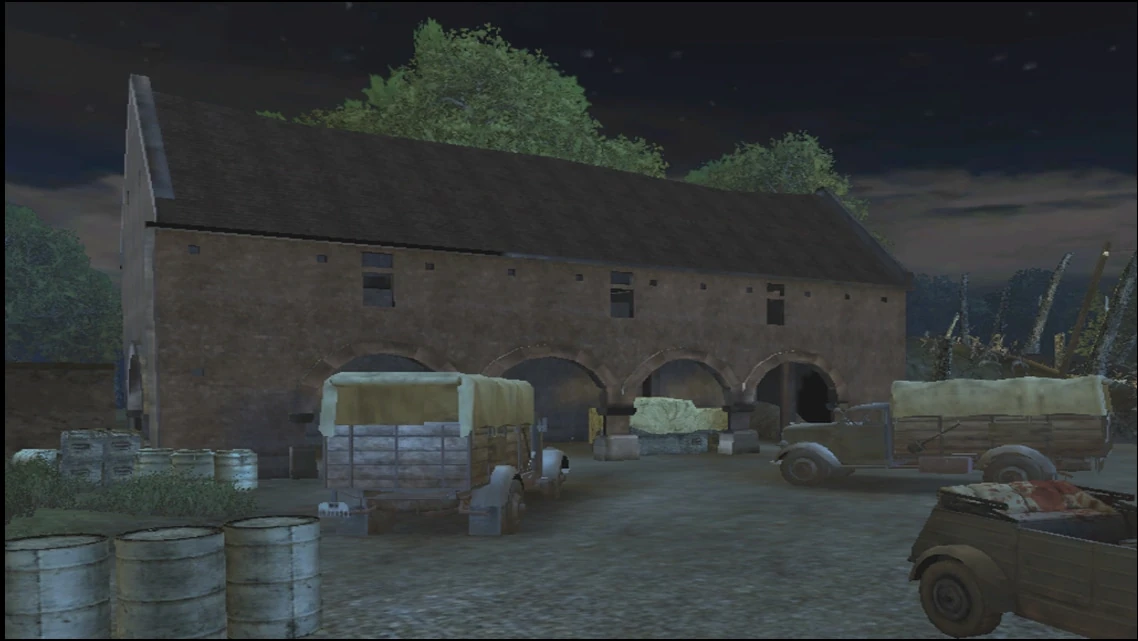

.jpg)
The side building recreated in the game reveals German vehicles and equipment as was typically stocked around the barracks and officer HQ's during the occupation.

.jpg)
Today, the side building is still the original structure. Only the roof has been replaced. Look at this slide and the previous two to see how the building looked then, now and in the game.
Allen and Garnett Death Certificates

.jpg)
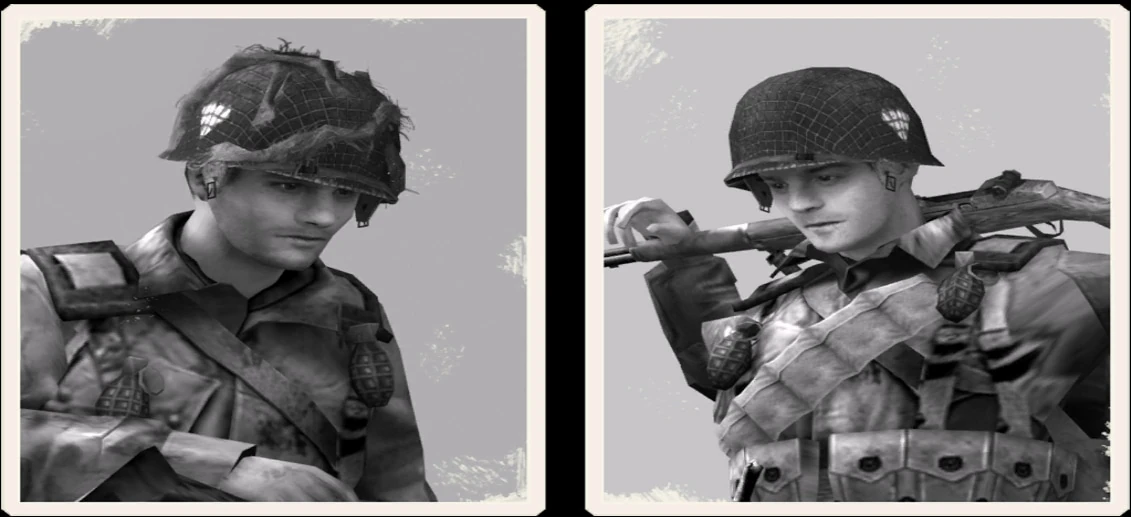
Pvt. Allen and Pvt. Garnett are two members of Cpl. hartsock's fire team in Sgt. Baker's squad. When they died near St. Come-du-Mont, Hartsock's team was gutted. Allen and Garnett were inseparable even as they were killed in action.

.jpg)
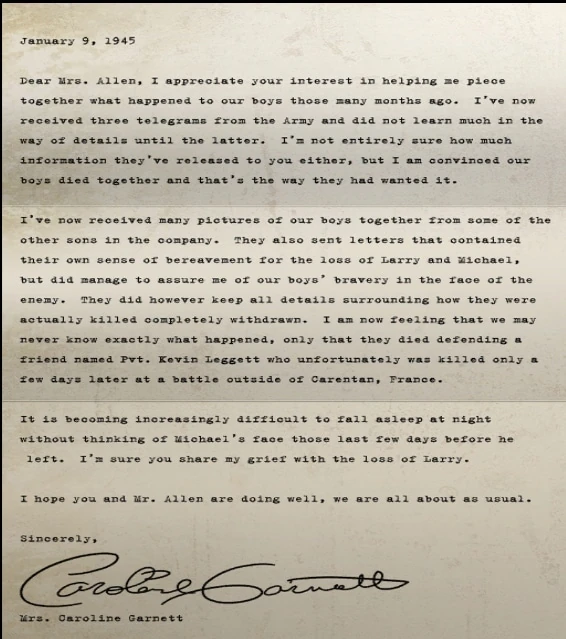
This letter, from Garnett's mother to Allen's mother, is indicative of the kinds of communication loved ones back home would share with one another when looking for answers and consolation in their grief.
January 9, 1945
Dear Mrs Allen,
I appreciate your interest in helping me piece together to our boys those many months ago. I've now received three telegrams from the Army and did not learn much in the way of details until the latter. I'm not entirely sure how much information they've released to you either, but I am convinced our boys died together and that's the way they had wanted it.
I've now received many pictures of our boys together from some of other sons in the company. They also sent letters that contained their own sense of bereavement for the loss of Larry and Micheal, but did manage to assure me of our boys' bravery in the face of the enemy. They did however keep all details surrounding how they were actually killed completely withdrawn. I am now feeling that we may never know what exactly happened, only that they died defending a friend name Pvt. Kevin Leggett who unfortunately was killed only a few days later at a battle outside of Carentan, France.
It is becoming increasingly difficult to fall asleep at night without thinking of Micheal's face those last few days before he left. I'm sure you share my grief with the loss of Larry.
I hope you and Mr. Allen are doing well, we are all about as usual.
Sincerely,
Mrs. Caroline Garnett
Recreating the Weapons of 1944

.jpg)
Creating the weapons seen in Brothers in Arms Earned in Blood is both a laborious and time consuming process.
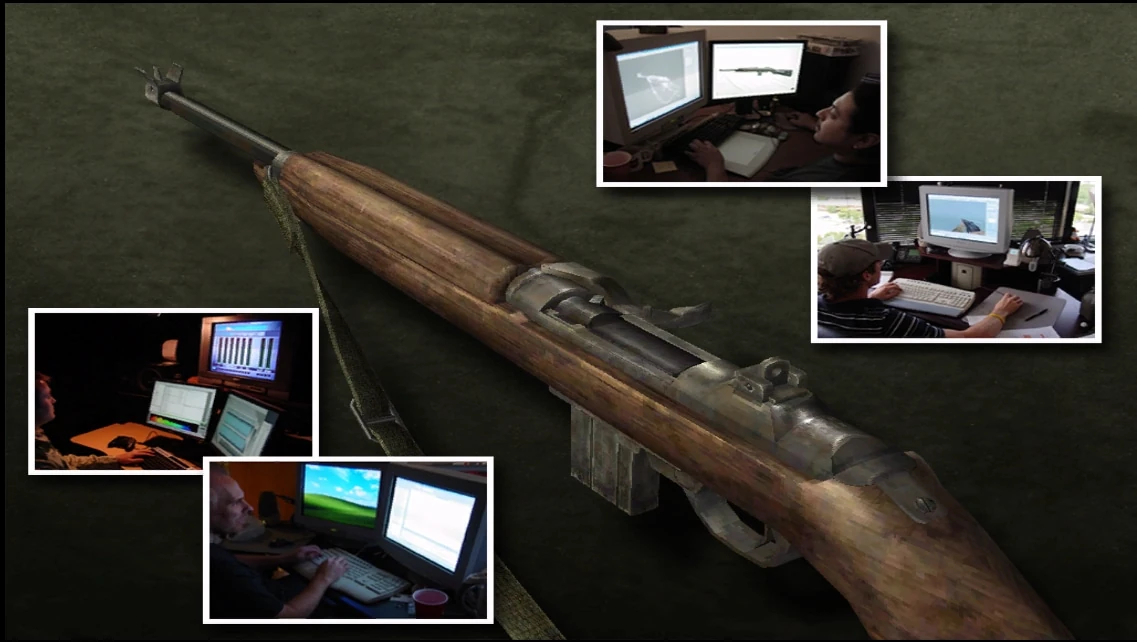

.jpg)
The creation of a single weapon may take upwards of 4 weeks and requires the talents of artists, animators, programmers and audio engineers.
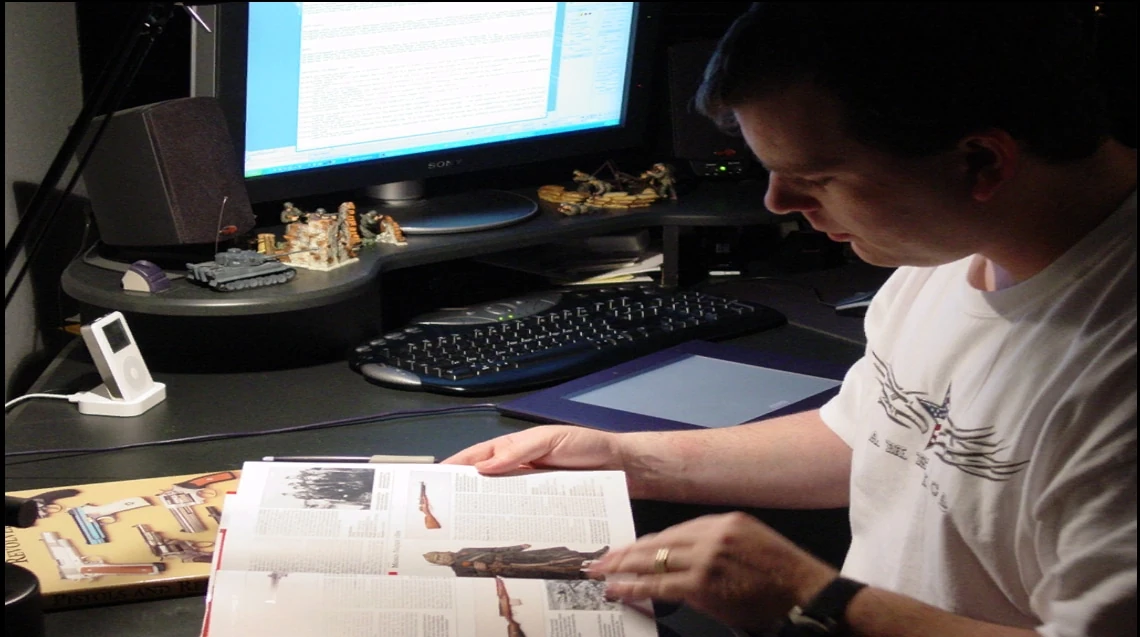

.jpg)
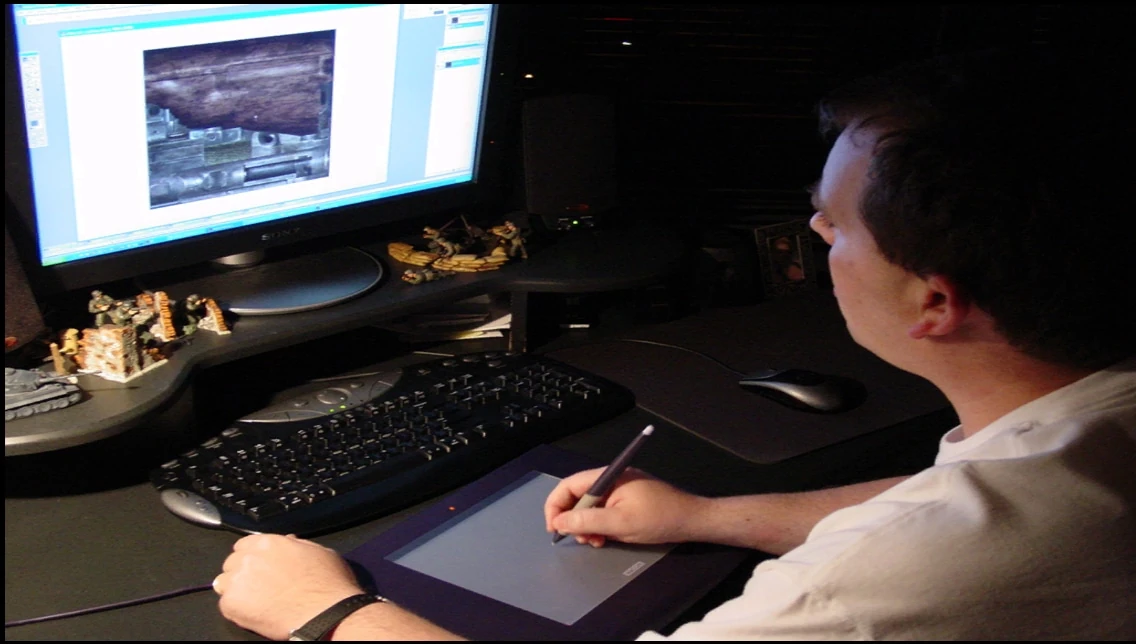
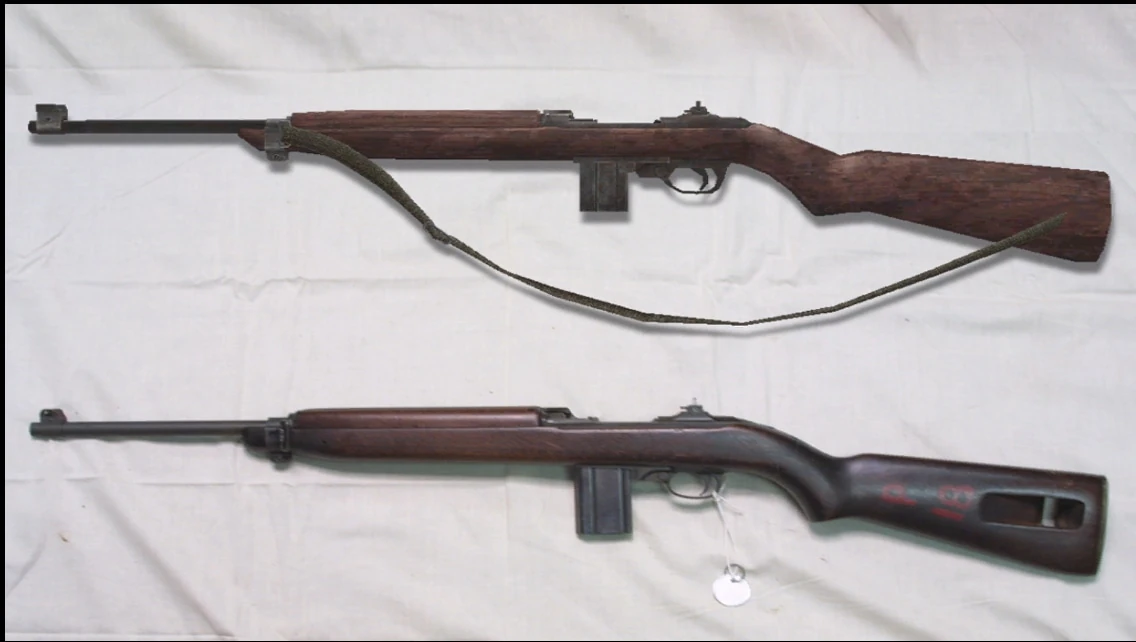
To begin the process, extensive research is done on the history and operation of specific World War II era weapons. this include books, photographs, and in some cases, hands on familiarization with the actual weapons.
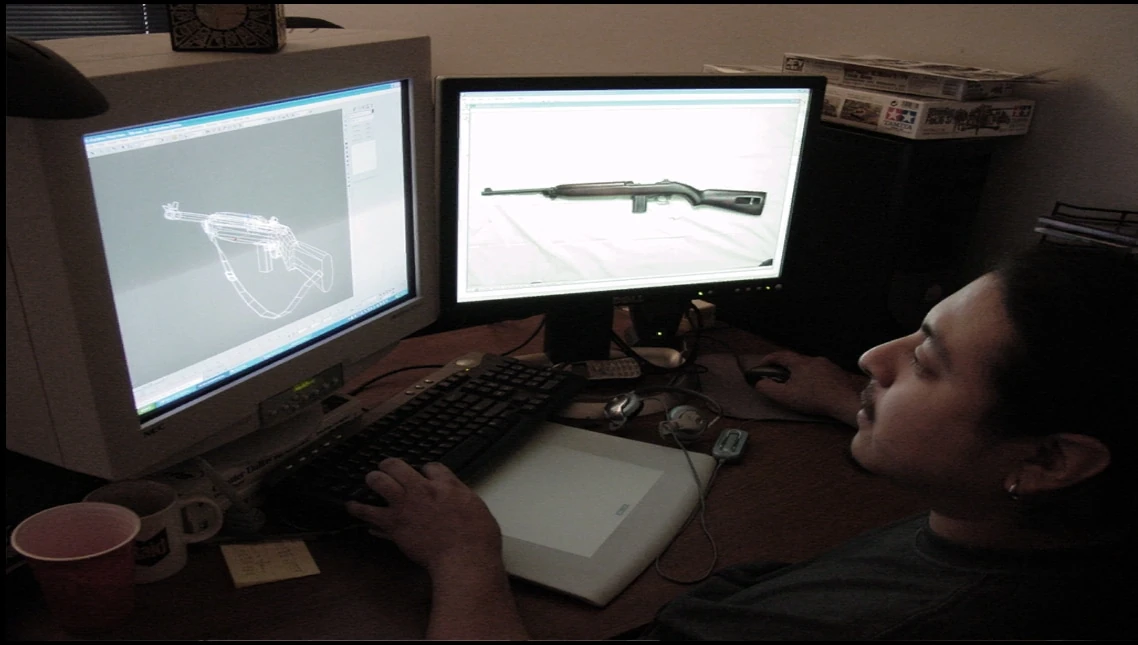

.jpg)
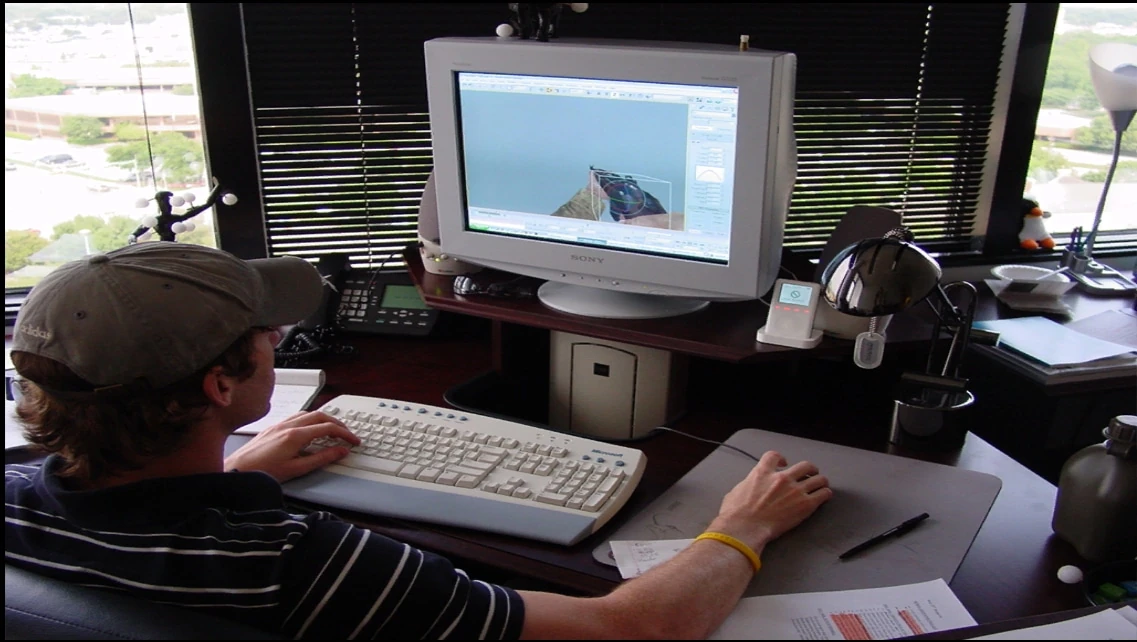
Once all the necessary reference materials are gathered, a 3rd artist begins to construct the weapon on the computer.
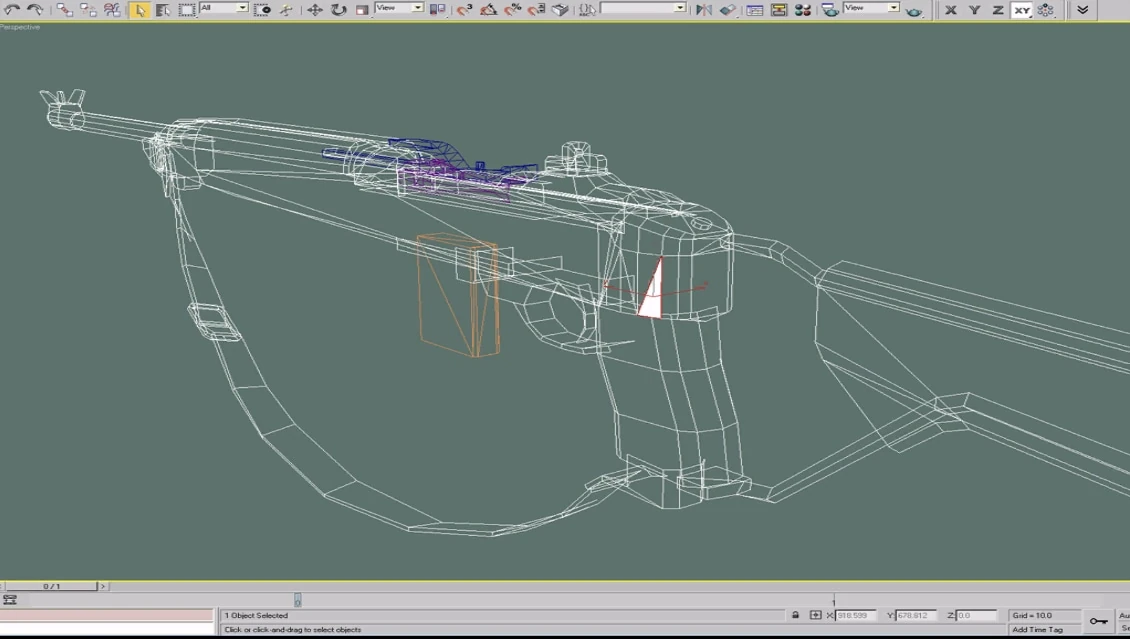

.jpg)
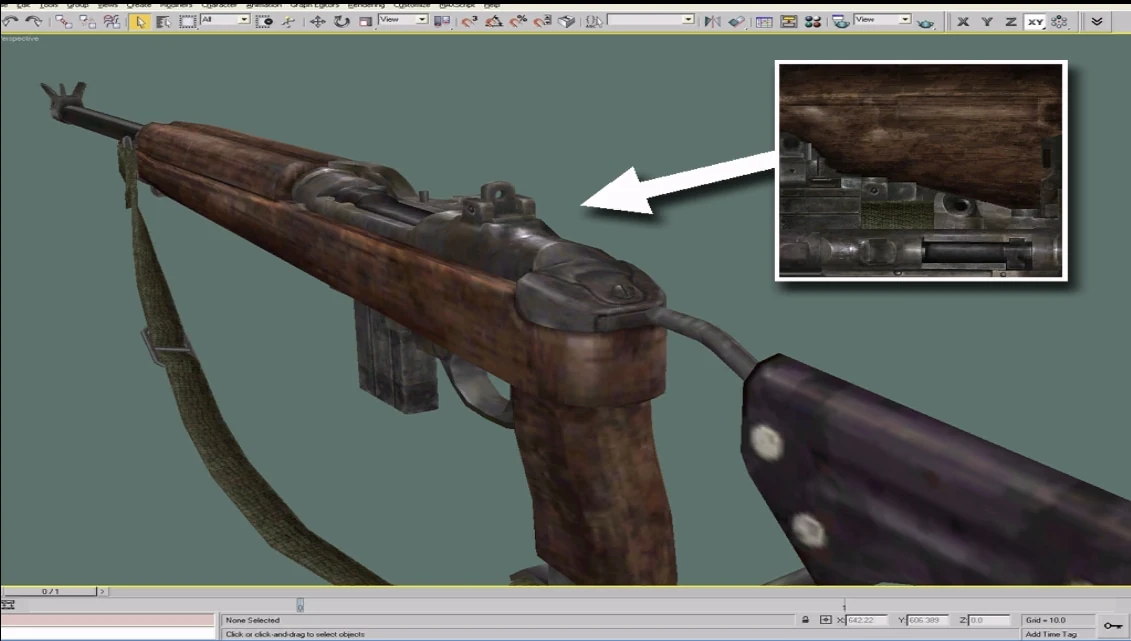
Using specific measurements and comparing the 3D model to actual photo references, the weapon is shaped by manipulating thousands of 3D generated triangles.

.jpg)
As the weapon begins to take shape, another artist prepares the weapon to be textured.

.jpg)
Using photo references, the texture artists map these images onto the 3D model, giving it a life-like look.

.jpg)
Once approved the 3D weapon model is then handed off to an animator.

.jpg)
Armed with the experience of actually firing and operating WWII era weapons, the animator makes the 3D model function and feel just like it did in 1944.

.jpg)
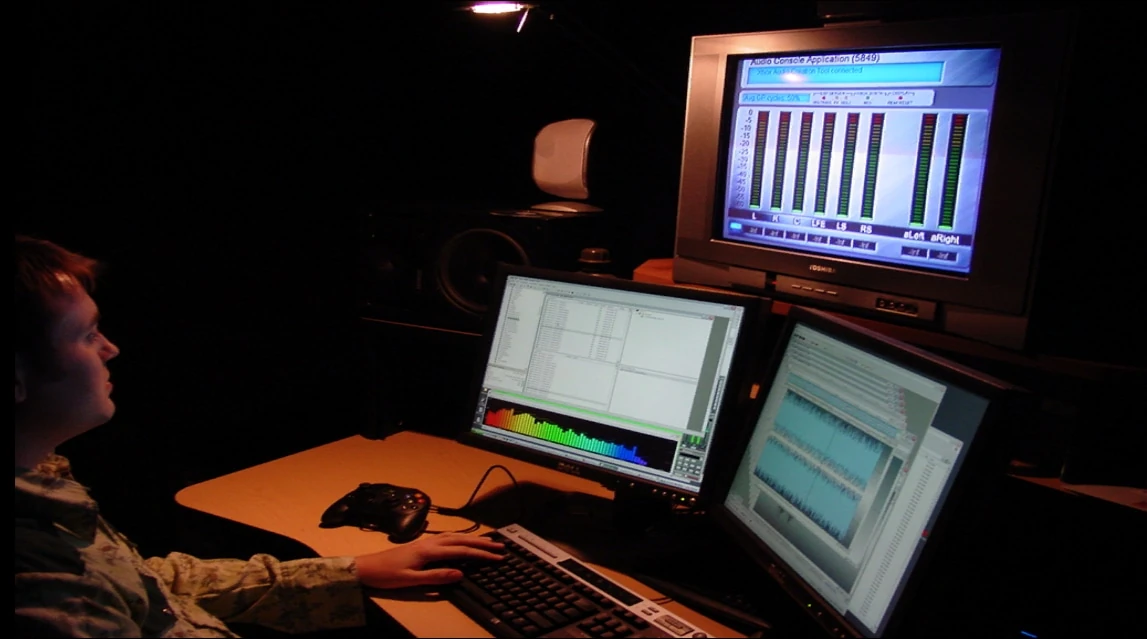
After the completion of the animations, the weapon is then handed off to an audio engineer. The audio engineer will record and \or create sounds to be used with the weapon model and animations.

.jpg)
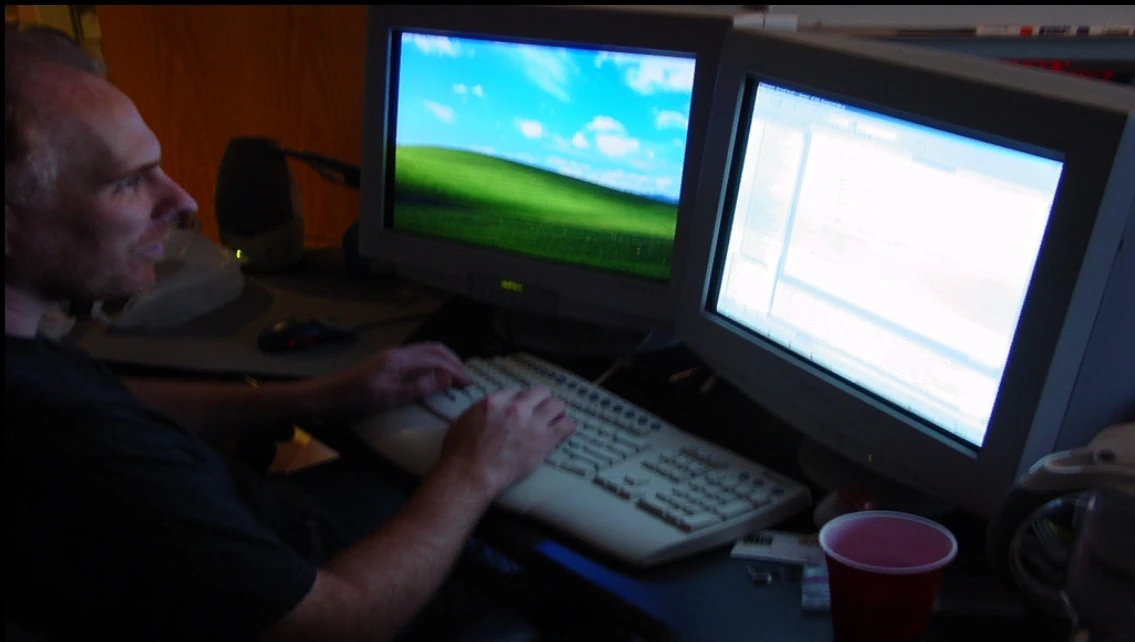
Once all of the assets are created, the weapon is now ready to be integrated into the game code. A programmer now takes the completed 3D model and creates the functions and routines necessary for the weapon to work in the game.

.jpg)
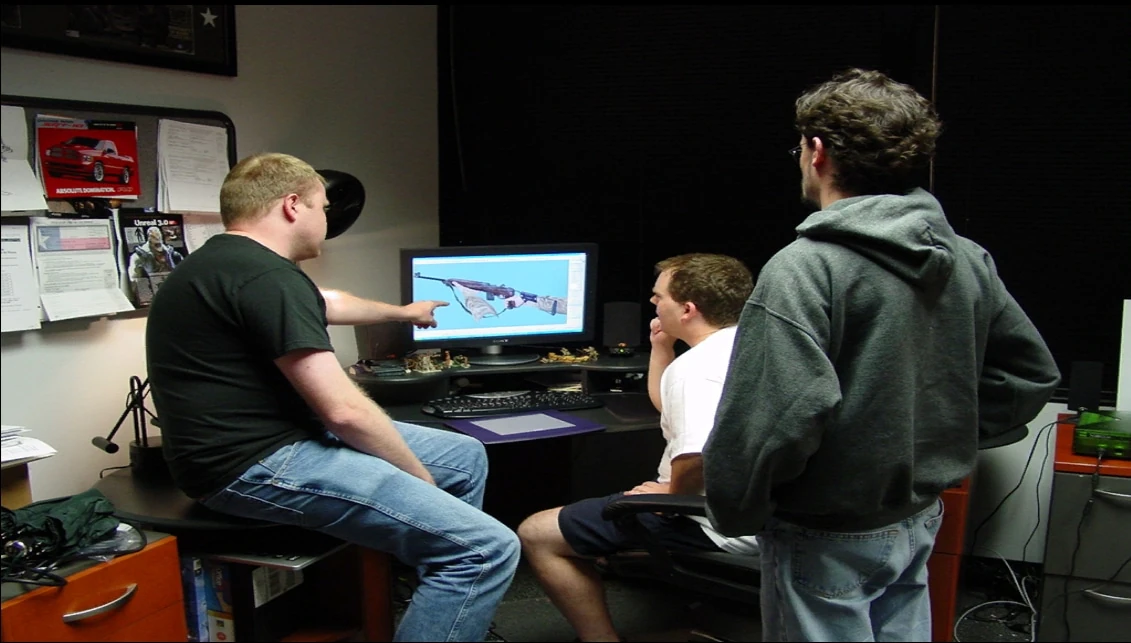
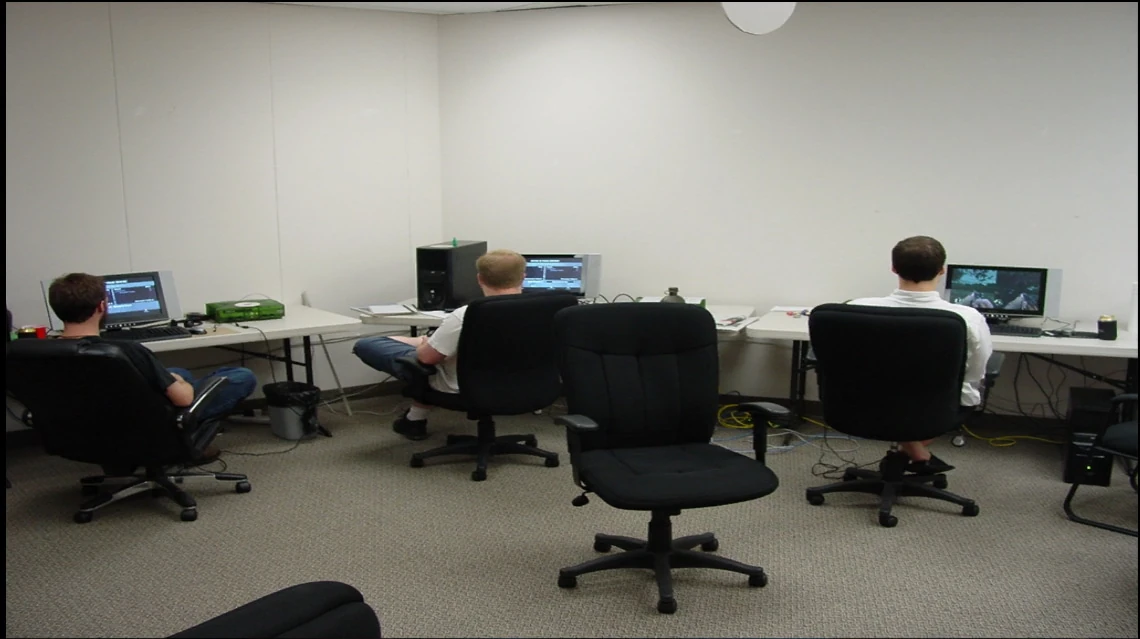
Finally, with the weapon integrated into the game code, it is thoroughly tested to guarantee quality and authenticity. All bugs and\or tweaks are noted and the weapon is then put back through the process to fix the issues.

.jpg)
While long and tedious, the weapon creation process guarantees that Brothers in Arms has the most authentic and realistic weapons found in any World War II shooter.
EIB Art Department

.jpg)
Earned in Blood Art Department

.jpg)
Earned in Blood Art Department

.jpg)
Earned in Blood Art Department
Gallery
")
Trivia
- This chapter is last night before Buying the Farm events.
- The only level you don't command characters from Earned in Blood.
- This is the last mission where you order around Allen, Garnett & Desola.
- A Walther P38 pistol can be found on a table inside the burning chateau.
Difference in the PS2 Version
- Desola uses a B.A.R.